30 January, 2014

Pins on Pinterest


Check this out! At this very moment in time, if you search "Thread Catcher Pattern" on Pinterest, this is what comes up.  My photos, pinned by others, occupy five of the six photos in the top row!  I don't know how long this view will last, not so long I suspect, but this is what it looks like here and now, at this very moment in the Space Time Continuum.

What does this mean?  Heck,... I don't know, probably not so much...  but I sure do like seeing that so many PINNERS are liking my patterns and designs!

29 January, 2014

Travels with Lucy and the Rustic Rooster


Lucy and I hit the road yesterday, along with my friend, Kathy H.  We girls drove down to Myrtle Creek for a class at The Rustic Rooster Quilt Shop.  Another friend and my most favorite teacher of classes ever!, Linda G., led us in making the Diva Frame Wallet.  We arrived for class at the shop, which has just relocated to great new retail space on First Avenue.  I had not visited the Rustic Rooster previously, but friends assured me that shop owner, Trina, carried fabrics that were right up my alley, and that was SO true!  And if sewing with friends while surrounded by beautiful fabrics and quilts wasn't enough, Trina served us the most delicious chocolate cupcakes with piped cream cheese peanut butter frosting. Sewing, quilts AND CUPCAKES! What could be better?

Linda always shares lots of hints and tricks that make her classes such fun.  The Diva Wallet went together very smoothly and all six of us finished our project in just over two hours.  Now that we've made one, we are all anxious to make more.  These will make wonderful gifts. Mine looks like this.

Hey, there is still some CA$H in my new wallet!  However in the world did that happen?  I was in a Fabric Shop, for goodness sake! 

After class I did a little shopping... and I just couldn't resist these. And here are my purchases, all bagged up and looking like a gift to ME!!!  Don't you just love gifting to yourself?


Kathy and I lunched at the sweetest little place, The Broadway House , located at, of course, 132 Broadway.  K. and I each had a delicious quiche, beautifully presented, I might add...


Broadway House, you had me at PIE & CAKE!
I am so looking forward to more classes at the Rustic Rooster and to going back to The Broadway House in the spring when we can dine outdoors on the deck overlooking the gardens.

27 January, 2014

Indulging Myself

You all remember that I sew in a closet, right? And that I don't have much room in said closet, right?

Even in my teeny space, I want my sewing closet to look nice and to contain some of the things that I love, like my favorite fabrics, vintage patterns, old needle cards, AND... my toy sewing machines.  I had picked up two others along the way, but recently found this new little RED one online.  I made certain that I was the winning bidder and I did very well, if I do say so! Ever the discerning cheapskate buyer/bidder, that's me.


Isn't it just the cutest little thing?  And it even works! It is a Casige "Little Modiste", and is stamped "Made in Germany in the British Zone", which dates it to between 1945 and 1949.  It is in amazing condition for it's age, which is around 65 or so... give or take.  Holy Cow!  It's even older than I am!  It even came with the original box as well as the instructions in both English and German, and what I believe are some quality control or perhaps inspections slips, also in German. 


It looks pretty sweet, sitting on the little shelf with it's sister sewing machines.  Clearly, I need to get a bigger shelf! Or a new house with a real studio...

25 January, 2014

Decisions, Decisions...

I am in the most deliciously creative mental state at the present moment. Since my Birdsong Quilt is now off to the quilter, I am dreaming of, planning for, and envisioning my next quilt. You might think that I would take this opportunity to finish the three other quilts that I have in the works,... but No-oooooooo! To my way of thinking, that just opens up a slot to begin making another quilt!  I don’t believe that I have ever enjoyed the process of choosing the pattern, colors, fabrics and the design of my next quilt as much as I am now.  I have decided to make something on the order of this one, found on Pinterest, the classic and complex Feathered Star!


I was in love with the Feathered Star even before I attended one of Marsha McCloskey's Feathered Star workshops.  You know that you have made a completely KILLER quilt block when it has about 130 (or more...) different pieces!

I will be attending my annual Quilters Retreat in February and want a new project that I can completely immerse myself in!  I have been all over the Internet, searching for the perfect pattern and fabrics.  I knew that I wanted my next quilt to be paper-pieced, I knew that I wanted to add a border using needle turn hand appliqué, I knew that I wanted the quilt to have a vintage/antique sort of a look and I knew that I wanted it to include the color RED!


I just ordered this book, "A Flock of Feathered Stars", by Carolyn Cullinan McCormick, which will provide me with the templates that I will transfer to freezer paper.  Paper piecing makes for exacting piecework, which is so very necessary when making a complex quilt with a ton of pieces per quilt block such as this. 

Light Bulb Moment! - I just realized that the author of the book that I just ordered was same author of the book that I used to make my Hanging Basket Quilt

The Feathered Star is one of the quilts on my Pinterest Quilt Bucket List, even though I made one about 20 years ago. There are tons of different ways to build the blocks, but so far, I am in love with the one pictured in the photo of the quilt pictured above. Mine will be different, of course, but you get the idea.

Next step, choosing the fabrics.  These shown below are beautiful and are at the top of my "maybe" list at the moment. I really love these fabrics inspired by vintage French textiles, and this new line, Le Bouquet Francais by French General, is a bit more vibrant than the generally understated colors in the lines previously offered by French General. I love the combination of red, yellow and blue. I'm thinking these fabrics, with the addition of a few more, along with an eggshell background would look stunning!  What do you think?


Update - January 30, 2014

I couldn't resist.  I ordered the Le Bouquet Francais Fat Quarter Bundle.  The package arrived this afternoon and I have been busy petting the fabrics, laying them out this way and that.  The colors are yummy and the scale of the prints will be perfect for my Feathered Star.  The bad news is that I just received a notification that the Feathered Star book that I ordered is delayed due to "inclement weather". UPS Tracking info tells me that my book is stranded somewhere in Minnesota.  I am imagining my poor book, stranded and freezing somewhere, shivering... in a big ol' semi trailer, all by itself and lonely... maybe in a snowstorm,.. or a terrible blizzard,... or a huge AVALANCHE!, just trying to make its' way to me.  Hold on, Honey, it's warmer here in Oregon!


17 January, 2014

Construction Zone! My Fresh New Look!

Had you noticed that my blog had been looking, um...a little naked?

Well, my free scrapbook style template that I have been using since I began this blog has now become a "for fee" template.  I was all set to purchase my old template, but then I started thinking about maybe streamlining and simplifying my blog look.  Kind of like a "Blog Facelift"!

I set about trying to design my own template, and I was able to come up with the look that I wanted, sort of..., but I just did not have the knowledge to fully implement it.  So I did some research online and found a designer to do the BIG work for me. Her name is Sharnee and her design studio is called  Suck My Lolly.  Sharnee is an absolute DREAM to work with! She lives way over on the other side of the planet in Australia, which is cool, because TONS of my patterns have been purchased in Australia. We are in completely different time zones and even different days of the week so when it's Friday afternoon for her, it is Thursday evening for me!  Crazy!

Anyway,... I sent Sharnee a couple of ideas and suggestions for the colors that I liked and she has built my new template into just what I was looking for.  Now my look is simple, clean, uncluttered and GIRLY! There are still a few little details to finesse, but those will be worked out soon.

Thank you, Sharnee, for helping me to give my blog a serious facelift.  I feel like a new woman!

08 January, 2014

Making The Best of My Time...


Remember, back a few months ago when I blogged about finishing my Birdsong quilt top?  I very ambitiously announced that I was going to hand quilt it and hoped to have it in the hoop "very soon".  Well, the quilt top did not make it into the hoop and sat and sat.  There were the holidays... Thanksgiving and then Christmas, and still no hooping!  I had this big revelation that I could send the quilt out for machine quilting and that means that I CAN START A NEW QUILT, which just got me all excited!

So I contacted my friend, Corrine W., who is a superb machine quilter, and she and I consulted yesterday.  I had sent her a photo of the completed quilt top and she and I had agreed to talk after our Quilters Guild meeting.  Corrine had done her homework looking around online to see how to best quilt my work in the traditional style, and she and I were of the same mind regarding how to best handle the quilting.  We talked about each portion of the quilt from the background of the blocks, to changing thread colors, to the feathers on the birds, veins on the leaves and on to the borders.  She and I think alike, which is just what I need when I am handing my work off for quilting.

Corrine says that she will have the quilt completed next month.  I will be able to have the binding on before the big Umpqua Valley Quilters' Guild Quilt Show in April!

I felt this big sense of relief when Corrine and I struck our deal.  I would have loved to hand-quilt this monster, but... I have more quilts to make and a home business to run.  And... I wanted to finish my Birdsong quilt IN THIS LIFE!  Hand quilting is not necessarily better than machine quilting.  It's just different.

Corrine will send me photos along the way as she quilts.  Can't wait to share!  And I am enjoying dreaming about the next quilt that I will make.  Endless possibilities!

20 December, 2013

A Fun Way To Give Cash at Christmas


Each year at Christmas, Mr. T. and I give cash gifts to our three adult children, along with our daughter-in-law.  They love getting cash and it certainly simplifies things for us, but cash is not the most exciting gift to give.  I wanted to let you in on what we are doing this year.  Don't worry.  I'm not spoiling their surprise.  They don't read my blog...

This year, thanks to Pinterest, I found a way to make the cash gifts feel more festive.  All five of them will find one of these origami star "ornaments" hanging on the tree on Christmas morning. They're gonna' love them!, and I'm pretty impressed, myself!


Here is how I went about it.  I found the directions for the origami star here.  You will need five bills in whatever denominations that you desire, however much your cash gift is.  The actual folding of the bills was surprisingly easy!  This star is my first try and as I said, I impressed myself! I used five $20.00 bills for my test star, but I used fifties, twenties and a ten for my final stars.  Since the bills have different shades on them, the look was a bit more colorful, but in a very subdued way.

Five Star Fronts
Five Colorful Star Backs
I made the tag in PicMonkey, my favorite online photo editing program.  They have tons of seasonal backgrounds and add-ons that give you lots of design options.  The star is attached to the tag with a small piece of double sided tape.  I punched a hole in the tag, added a ribbon for hanging and there you have it. Finito!

 Making these stars was easy! You can make your cash star gift inexpensive by using five one dollar bills, or,.. the sky is the limit!  I think that they could make an impressive cash gift year round, not just at Christmas time. You would just change up the tag to make it more seasonal.

Next... I will be making some of these star ornaments from my late mother's sheet music for the piano.  What a fine way to remember her and her wonderful musical talent at Christmas.

Give these stars a try! You will be amazed at how simple they are to make.

14 December, 2013

New Fabrics


I've been having tons of fun with some NEW FABRICS!  These five Thread were just listed moments ago at my Etsy Shop, Curry Bungalow  .  I am trying to break out of my floral box and use modern prints.  These above in the larger picture are positively delicious!  They are from the "Florence" line by Denyse Schmidt. This one just might be my new most favorite!, well... until I make the next one.


08 December, 2013

Short on Snow But Long on Pretty!


This is the view from my window today. So very pretty, isn't it? We've had some snow here in the 'Burg, not much, but enough to give the view toward the Callahan Range to the West a very  "Currier and Ives" look this morning!  Just had to share.  

01 December, 2013

My 15 Seconds of Fame

My little blog is one of the FEATURED BLOGS for the month of December at The Quilt Pattern Magazine !  How cool is that???  This is what their review looks like in the magazine.

I was notified that my review had been posted early this morning. I pretty much choked on my coffee when I read those words, "twenty-something".  Whoa!!!  That is certainly not a bad thing to be mistaken for when one is actually,... ahem.... a "sixty-something"!  My head feels so big that I just might knock my ears off the next time that I walk through a doorway!

Thanks Barbara, and thanks to THE QUILT PATTERN MAGAZINE for the lovely review!

17 November, 2013

Bigger Is Not Always Better!


I don't know why I love SMALL things, but I do.  Think kittens, puppies, babies, Singer Featherweights, Volkswagen Bugs,... I could go on and on.  So when I found the teeny tiny Steamfast Home and Away Steam Iron, I knew that it was the iron for me.  

As I have mentioned/whined about previously, I sew in a closet, REALLY, so space is at an absolute premium for me.  My pressing surface while piecing is a covered wooden TV tray that slides under the tabletop when not in use.  A full sized iron is more of a hindrance than a help. 

I should mention here that I had tried the Rowenta Classic Compact Steam Iron, but when it spontaneously combusted on my ironing table, I swore off Rowenta forever. FOREVER!

Enter the Steamfast Home and Away Mini Steam Iron.  This little gem is positively perfect for me!  It's SMALL, has a long cord, heats up quickly, and steams really nicely!  Some quilters absolutely DO NOT steam.  Me... I steam the holy heck out of everything!  It also travels nicely to classes and workshops.

Did I mention that it's inexpensive?  I found mine online for a measly $19.99 with Free Shipping!  Google it. You might just find a similar deal!

When you find something that you love, you just need to sing it's praises.  And I'm singing loud and strong about the Steamfast Home and Away Mini Steam Iron. 

Get yourself one!

03 November, 2013

Just In Case You Are Interested...


I just posted FOUR Thread Catchers over at my Etsy Shop, Curry Bungalow.  I am being contacted daily buy customers looking for my items for gifts.  It seems that there is quite a demand for my little sewing accessory! I will have my nose to the needle, working hard to keep up with demand! Slide on over to view more photos of the above items.  More to come!  Will post as soon as I complete them.

25 October, 2013

24 October, 2013

Free Schwag in the Mail!


I can't believe it!  I actually WON something!  Last week I received an email telling me that I had won this great new book, just published, from a website called Craftside.  Frankly, I did not even remember entering a contest, so this is a double surpise!

This beautiful book is from the publisher of my most favorite magazine, "Where Women Create".  If you haven't seen this magazine, you are in for a treat.  It's pricey, but WE'RE WORTH IT!, aren't we?  It is cram-packed with great ideas for work space organization and various other forms of inspiration.

I can't wait for a quiet moment to pour over every page of my new book.

By the way, I learned something new today.  I wanted to be certain that I had the correct spelling for SCHWAG. I Googled it, and found that SCHWAG is not just products given away free, primarily for promotional purposes, but it is also slang for marijuana, typically of a very low grade.

Uhmmmm,... I think that I prefer the free/promotional variety!


13 October, 2013

Sheesh!!!


I have spent the entire afternoon photographing and posting five new Thread Catchers at my Etsy Shop.

Seriously... I'd rather make them than post them. The good news is that I decided to break into some of my new fat quarter bundles instead of just gazing lovingly at them.  LOVE the two new lines that I am working with!

OOOPS! One just sold! Make that FOUR new Thread Catchers!

19 September, 2013

My New BFF, Bonnie Hunter

Me... in the back row on the left, Bonnie is in the second row, just up and to the left of the big red star block.
If you are one who makes quilts, you likely know that BONNIE HUNTER is a seriously big deal out there in the quilting world.  Well,... my Guild, the Umpqua Valley Quilters' Guild, contracted with Bonnie Hunter to lead a workshop for us.  How cool is that!!!!  She books her workshops years out, so we've been waiting and waiting for our very own BH Workshop where we were set to make Bonnie's String Spiderweb quilt. We met at a local community center, a place with great light and lots and lots of electrical outlets... all 30 of us!, and we had the most fun day with Bonnie.

I have to say here that I am so incredibly star struck to be in the company of quilt professionals.  It has been my experience that these women are much like all of us, women who are wives and mothers and lovers of all things connected to quilts and quilting.  Bonnie has found her place in the quilting world in a way that most others have not. She is seriously BIG TIME, with features in magazines and a killer website, Quiltville, where she generously shares her free patterns with all of us. She travels all over the country leading workshops for women who are just like me.  She featured our workshop on her blog Quiltville .

As I have mentioned here on my blog previously, I am compelled to make things be "Matchy, Matchy".  I know that I need to just let go and channel my inner "scrappiness", but it's not easy for me.  So a "Toss Your Cares to the Wind" sort of a color scheme (with a big bunch of restrictions.... no reds, no blacks...)  is what I decided to use for my Scrappy Spider Web quilt.

My blocks, as featured on Bonnie's "Quiltville" blog with her copyright and stamp!  Woo-Hoo!!!
Is this my 15 seconds of fame? I'll take it!


I read the directions for Bonnie's Spider Web quilt and wasn't so sure that this was for me.  But really, I'd make just about anything to be in the company of this Quilting Queen Bee!,  so I sucked it up and started cutting up my fabric strips.  I should insert here that I chose a solid background fabric that I think will give me the look that I am going for.  It's that "vintage green" color, often used in quilts from the 1930's, and I am also imagining a solid cornflower blue or a buttery yellow fabric in the border. To actually have a vision at this point is kind of a surprise for me, even before the piecing is done.  I am just rolling along with the creative process here, which is kind of how it should be, I think. Roll on!

A few blocks made by my Guild Mates.  Love the Halloween fabrics!
If a full day of sewing without distractions is not enough, add in that I sewed all day with other guild members, my friends and table mates, Teri W., LeAnne L. and Shirley S.  Priceless! Lots and lots of chatting going on!

Each and every one of my guild mates, all using the very same pattern, made a remarkably different quilt. That's the wonder of this kind of workshop.  We all use the same pattern but our end products are completely original.

Thank you Bonnie, for being a wonderful instructor and such a fine quilting sister!  We hope that we see you along the way again.

04 September, 2013

Appliqué Finished - Still Scrunched


I am finished at last with the appliqué  portion of my "Birdsong" quilt and it is STILL scrunched on the master bedroom wall.  The leaf border on the left is there... it's just folded in. I am almost a little sad to have completed this part of my quilt.  I will definitely be doing more or this needle turn appliqué.


The next step is to add a tiny 3/4 inch border using the above red fabric next to the leaves, then add a 12 inch outer border using this beautiful large blue print.  It reminds me of vintage wallpaper.

I may regret this later but I have decided to hand quilt this baby.  I want to use colored quilting thread on the birds and leaves but don't feel as if my machine quilting skills are up to snuff to attempt quilting this on my machine.  But I'm not so bad as a hand quilter and I am thinking that I have tons of work into this quilt already, and I don't want to mess it up when it comes to the quilting.
I hope to have this thing on the hoop soon.  Wish me luck!


New Digs for the Wet Pets


It's been NUTS around here for the last couple of weeks.  We have been having our Koi pond rebuilt, an absolute necessity, not just a cosmetic upgrade.  Add in five dump trucks, giant rocks, an excavator and fella's here, ready to work,  at 7:00 am.

You know what they say about swimming pools...  If it's something that you want, then it has value, but if it's not, then it's a liability.  The same thing goes for Koi ponds. Our pond, which we love and value, had become a monster liability. A good portion of our large yard was a soppy BOG, thanks to the old leaking pond and stream bed.  Mr. T. and I knew that taking on and repairing such a large project was not within the scope of our expertise, so we sprung for the "Bucks Deluxe" upgrade.  We had toyed with the idea of trying to fix the problems on our own, but know now that we could never, EVER, have been able to fix all of the problems that came to light as the crew dug in.  I was lamenting having to lay out some serious "Green", but after seeing how hard our crew worked, we are happy to write that hefty check!

Happy Fish!

With these upgrades we are no longer tethered to the pond, having to be here, Johnny-on-the-spot, to clean the filter every other day.  We can now go a WHOLE WEEK, maybe more,  without having to clean anything.  And, get this!  The waterfall has a remote that allows us to control the water flow in the falls.  We can have a relaxing trickle,... or turn it up to a roaring torrent! Mr. T., otherwise known as the King of the Remote... is in heaven!  He's got yet another remote to control!  Carries it in his pocket...  He calls it the "Bruce Almighty Button"!

Contemplating Spawning Upstream?


The best part is that our Koi pond is now the killer focal point, the go to place of our yard and garden, a very relaxing, Zen sort of a space to just sit and watch the fish, marvel at the sunset, enjoy a glass of wine and/or smile at Rosie-the-Wonder-Dog, happily rolling in the grass.

Sadly, we lost two fish while they were out in the holding tanks. One was our "original", our big and beautiful Yamabuki,
Pau-Pau, who was the only fish in the pond when we bought the place six years ago.  We are so going to miss her...

We still have lots of work in store for us,  We will be adding landscape plants as well as pond plants.  Since it's sort of the end of the season here for the local nurseries, it will continue to be a work in progress, on into next year.  But we are looking forward to customizing our investment.  And maybe adding a few more fish.

23 August, 2013

Must Gush!


They're heeeeere!, and I just have to GUSH about them!  My "High Street" Fat Quarter Bundle by Lily Ashbury arrived today.  The moment that I saw these fabrics I knew that I would use this line to make up my next pattern.  The colors, the prints and the scale are all perfect.  The pattern is in the works, although a sewn up version of it has already had quite a little life over on Pinterest.

Here they are, sitting so pretty, all stacked up in perfect color order, of course!

They wanted to do a little runway walk for you, so here they are. 


and 
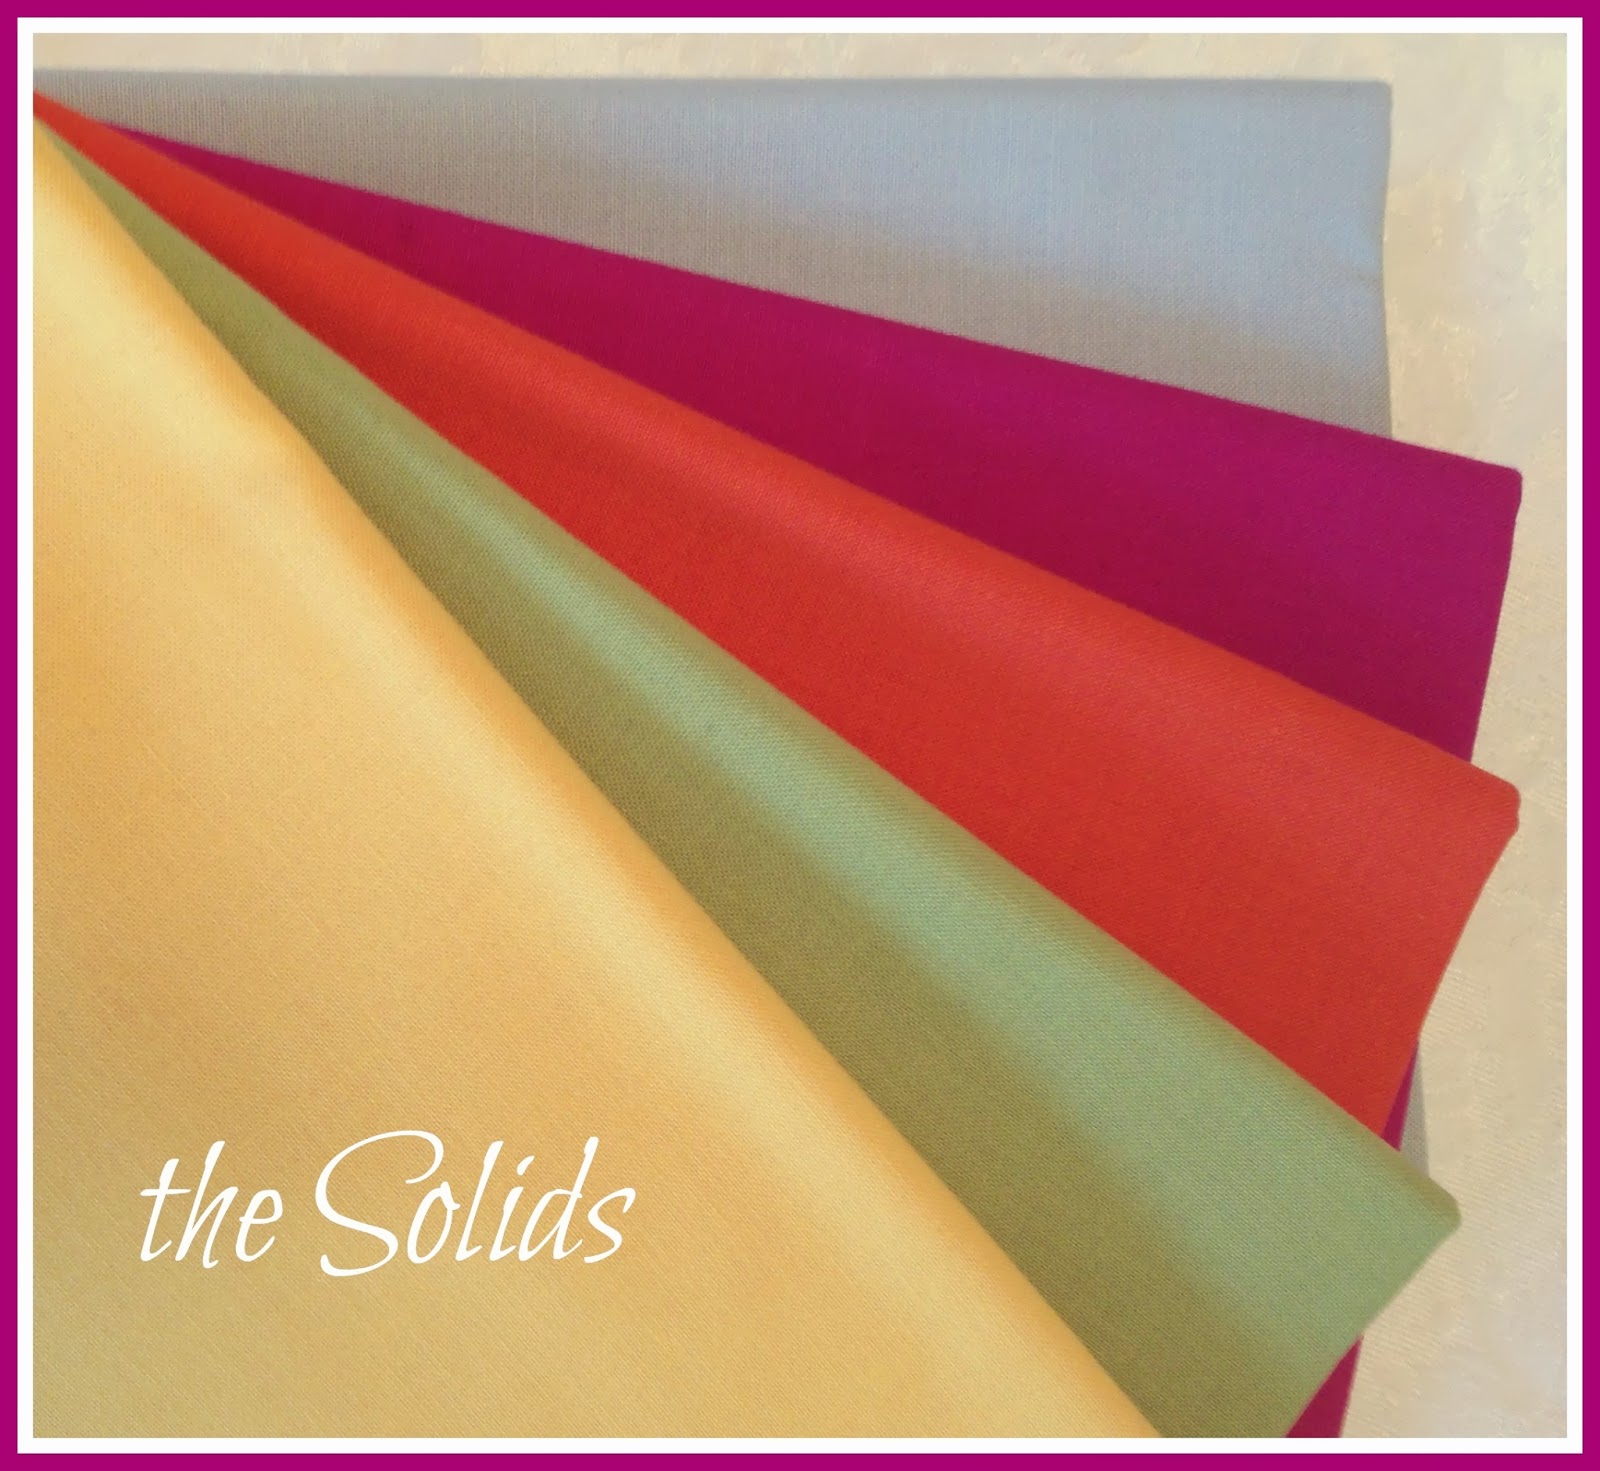
the coordinating Bella Solids

One word.  Positively DEVINE!  OK, that was two words....   Let's go for three words.  Absolutely Positively DEVINE!

03 August, 2013

I-Am-a-Mat-er-i-al Girl


C'mon! Sing along if you are also a MATERIAL GIRL! You can thank me later for inserting that crazy Madonna song into your head.... Liv-ing in a Mat-er-i-al World... over and over and over...

I am in serious "DROOL" mode, awaiting the much anticipated release of the newest fabric line by Lily Ashbury for Moda, aptly named, "High Street".  The line is described as "an elegant collection with a touch of playful bohemian style.  Think Carnaby street circa 1963 when "Swinging London" was flourishing.  Soft grays an sage are accented with punches of orange, yellow and plum.  Soft paisley and ogee elements give a not to this colorful iconic era."

You can view the full line here at the Moda (United Notions) website.  http://storefront.unitednotions.com/storefrontCommerce/search.dosearchType=keyword&keyword=high+street&emailAddress=

The release date for this line is August 2013, and it's August already!  Where, oh where is "High Street?

I have yet another Thread Catcher Pattern in my head and this line is going to be positively PERFECT for it! This new pattern will be sort of the "in between" of my two previous patterns, with a somewhat simpler pincushion design than my Dreamy Dresden Pincushion, but with a bit more pizazz than my Sew In Style pincushion. The pincushion design will be foundation pieced, and I know, that's a bit scary for those who have not done such piecing, but the new pattern will give a simple lesson in foundation piecing and you will be surprised at just how simple and precise it is!

Cross your fingers for me that this line is released soon, very soon.

25 July, 2013

Me and My Big Bro

About 1953, I think....
Over the last few months, I have been getting re-acquainted with my older brother.  He kind of vanished, POOF!, about a million years ago, back when I was a young Mom.  It was 1978, I think, a lifetime ago.  I have missed him all of these years, wondered where he was, hoped that he was having a good life.  Did I have a sister-in-law? Was I an Auntie? Was he even still living? Mr. T. and I seriously searched for him, but with no luck.

Through the magic of the Internet, and with the good fortune to be married to a retired Federal Agent, my very own Mr. T,... who is some kind of a super-whiz at investigations, we finally located him a few months ago in New Orleans.  My brother and I have connected through Facebook and are communicating back and forth, getting to know each other again after all of these years. He's a musician living in the French Quarter.  He has sent me CD's of his compositions.  Really great stuff!  He always was a superb musician!

No, I am not an Auntie, I do not have a sister-in-law, but that's just fine with me.  I am just happy to have found my Big Brother after all of these years.  That's him, in the photo above, standing in the middle.  I am seated in his pedal airplane, sitting like a brazen hussy with my leg slung over the side ..., and with my brothers initials, J.P., painted on the side by our father.  My bro "flew" all over the neighborhood in his pedal airplane, and he let me channel my inner Amelia Earhart from time to time.  I bet that airplane would be worth about a gazillion dollars today!

Who that kid on the right is?... I have no idea. All I see in the photo is me and my big bro.

07 July, 2013

The Design Wall Blues


If I could sing, which I can't.... (OK, I try... in the car... along with the radio... ), I'd be singing,  "I Got 'Dem Design Wall Blu-oooz".

I have no single wall in our sweet old bungalow large enough, and without heavy furniture placed in front, to accomodate a design wall.

After months of not even touching my Birdsong quilt, I am happily immersed. Since I must make do without a proper design wall, I have tacked my "in progress" quilt blocks on the wall behind the door in the master bedroom, scrunched between the bedroom door and Mr T.'s highboy.  As you can see, I still do not have enough room to tack them all up side by side. Notice that the blocks on the left are overlapping.  The little neon green and pink sticky notes tell me just where the blocks need to be placed.

I needed to get the blocks tacked to the wall so that I could stand back from them and make some decisions about which fabrics to use in the next blocks that I make.  I don't have lots of variety in the blues and reds and do not want to use the same fabrics adjacent to each other.


I am loving the way that the leafy border at the top looks.  Each little leaf is a four inch block.  This border will be on the top, sides and bottom of the quilt, inside the 12 inch outer border, fabric yet to be determined, but probably one of the blue prints, or... one of the red prints.  Still undecided.


These are two of my favorite blocks, the Chipping Sparrow and the Lark Bunting.


I can see that my needle turn hand appliqué  skills have improved a great deal since I began this quilt, having just learned the technique a few weeks prior to starting. I wasn't doing so badly at first...my work looked surprisingly good,  but I was incredibly tight in the neck, shoulders and hands.  I am happy to say that I have since learned to relax while doing this variety of hand appliqué.  I think that I have found my groove, so to speak, or my Zen, depending on how old you are.  Bet you can't guess how old I am. Insert Peace sign here...

Only NINE more bird blocks to go!  I am well over half done with them, but still have tons of those little four inch leaf blocks.


UPDATE - July 17, 2013 - Moving right along. I have finished four more blocks and only have FIVE more to go!

I have learned something about myself in the process of making this quilt.  I do not especially enjoy doing the prep for the blocks, cutting all of the pieces and preparing them for appliqué.  Progress completely bogs down when I need to prep blocks.  That is the point at which time it becomes easier to procrastinate than to continue.  So I figured out that if I prep two or three blocks at one time, then put them in zipper bags, ready to go, that I am ready to sew whenever I like.  Hmmm, maybe this is why I have so many unfinished projects. Poor prepping, perhaps. Well,... that,.. and I am a Gemini, which kind of says it all.

I will remember this little lesson on future projects.  Prep, prep, prep.  Kind of like eating your peas first.