26 June, 2014

Our New Nosy Neighbors


We have new neighbors.  They live next door in the pasture over our fence to the west.  They don't have loud parties or drive their cars too fast on our country road.  They're the very best kind of neighbors, except that they're just a bit nosy.  OK, that might have something to do with carrots and apples...

02 June, 2014

Early Mornings at My House

Don't hate me because I get up early.  If I happen to mention that I am an early riser, people act like they want to SHOOT me or something...  It seems that most of the world is wanting to sleep late, but I love to get up early.  It's my favorite time of the day. I try to sleep in, really, I do!  But lying there in bed, trying to go back to sleep just makes me kind of crazy.

So this is what I do when I get up early.  I sew.  And sew, and sew.  This morning it was just me, a hot cup of coffee, the chatty old cat and Breaking Bad-Season 5 on Netflix.

I have just listed these over at my Etsy Shop, Curry Bungalow .  Take a look. Maybe one will speak to you.

14 May, 2014

In Bloom

What's blooming in your yard?  My miniature rose bushes are going crazy! These blooms are tiny, about two inches across and are incredibly fragrant.  This photo was too pretty not to share.  My dear friend, Priscilla, remarked, "Awwww, she's going to be a PEONY when she grows up!"

09 May, 2014

Just Spreading the Love!

I've been spreading the love, THREAD CATCHER LOVE, that is!  I was asked back for a second Thread Catcher Workshop Day at the Rustic Rooster Quilt Shop, and what a fun day we had!  I led two workshop sessions, one in the morning and one in the afternoon.  Everyone arrived with their fabrics cut and ready to sew.  I provided the pattern, a supply kit and lots of personal instruction.

These lovely ladies, they're sisters, are seen here, with their bags just completed.  They then moved on to finish the tile cover.

Check out that cute ladybug fabric and gingham print lining.  So cute!  It is such fun to see the fabric choices that everyone makes.

Almost finished.  It just needs the ladybug button in the center of the posy.

I was captivated by this little giraffe pincushion owned by one of the ladies.  She said that it was a thrift shop find.  Who could even think of letting this little gem go?!?

I had spent a good part of the day scoping out the inventory and picking out the fabrics that I wanted to purchase. 

I simply could not resist these yummy fabrics.  Who remembers when everyone had one of these funky alarm clocks on the bedside table?

I picked up some trims and zippers for future projects.

But I think that I am most excited about my new Karen Kay Buckley Curved Scissors!  I had a hard time resisting taking them out of the package before photographing.   Karen's scissors are the best that I have ever found in all my years of sewing, and that's a lot of years!  They are super sharp and even better, they STAY sharp.  I have had my large ones for about four years and after tons of use, they are still as sharp as the day I got them.  


Here is my KKB scissors family, all lined up and looking good.  I love them all!

We had so much fun at our Thread Catcher Workshop that the shop owner, Trina, has scheduled me for another Workshop Day in July, this time on a Saturday so that ladies who work can attend.  

I'm just spreading the love!

16 April, 2014

2014 Quilt Show - In the Can!

Our 2014 Quilt Show is in the can!  And look!  There is a BIG BLUE RIBBON on my quilt, which feels like kind of a big deal since I moved up from the Intermediate skill level to Advanced this year. And that put me in a whole new class with quilters who are much more experieced than I. In fact, my quilt was judged against a quilt done by a woman who recently took Best of Show.  I tell myself that ribbons don't matter to me. I loved making this quilt and learned lots along the way, but seriously, who doesn't love to have their work decorated with a big ol' BLUE RIBBON?

It was a fabulous show, as always, but I think that my poor feet are still in recovery mode.  Five whole days and lots of walking on concrete floor equals aching feet.  But it was all worth it.

We are always amazed that we start with an empty hall on set-up day...

and over the course of a few hours...

and with many hands....

we build a stellar quilt show!

Our "Design-A-Block booth is always a big hit.  Our guests lay out a quilt block on a small design board, then Guild members sew the block together and we pin them up.  These blocks are later made into quilts that go to Douglas County kids and local veterans who have been on active duty in Iraq and/or Afghanistan.  


Abbie and Faith had tons of fun designing quilt blocks.  They're BFF's.  They told me so...

One of our members, Ann G., always brings along her lovely old treadle sewing machine and stitches quilt blocks together while chatting with our guests.  Just about everyone has a memory of a loved one sewing on a treadle machine.

Our Quilts of Valor Chairperson, Pat G., set up the lovely display of our Patriotic Quilts.  We will be making many more in the near future.  We have recently learned that our local National Guard unit well be deployed to Afghanistan in June.  We will have a patriotic quilt ready and waiting for each and every one of them, that's over 80 soldiers, when they return home in 2015.  

Our member, Cheryl M., cleaned up with her stunning quilt.  She took a first place ribbon, the Mayor's Choice ribbon and BEST OF SHOW!  My photo does not do this quilt justice.  Entries are open to anyone, not just our guild members, so we are always pleased to see one of our own take Best of Show.

Our youngest entrant in the show, six year old Kyla B., was the winner of her very own Janome Hello Kitty Sewing Machine!, donated by a local vendor.  

                                      
Betty C. took a first place ribbon as well as the President's Choice award.  Betty is the resident expert in Hand Applique and is a published author on the subject. Her beautiful quilt is all hand applique AND is hand quilted!

Another guild member, Vi A., took the Viewer's Choice Award.  And it's no wonder!  Another stunner!

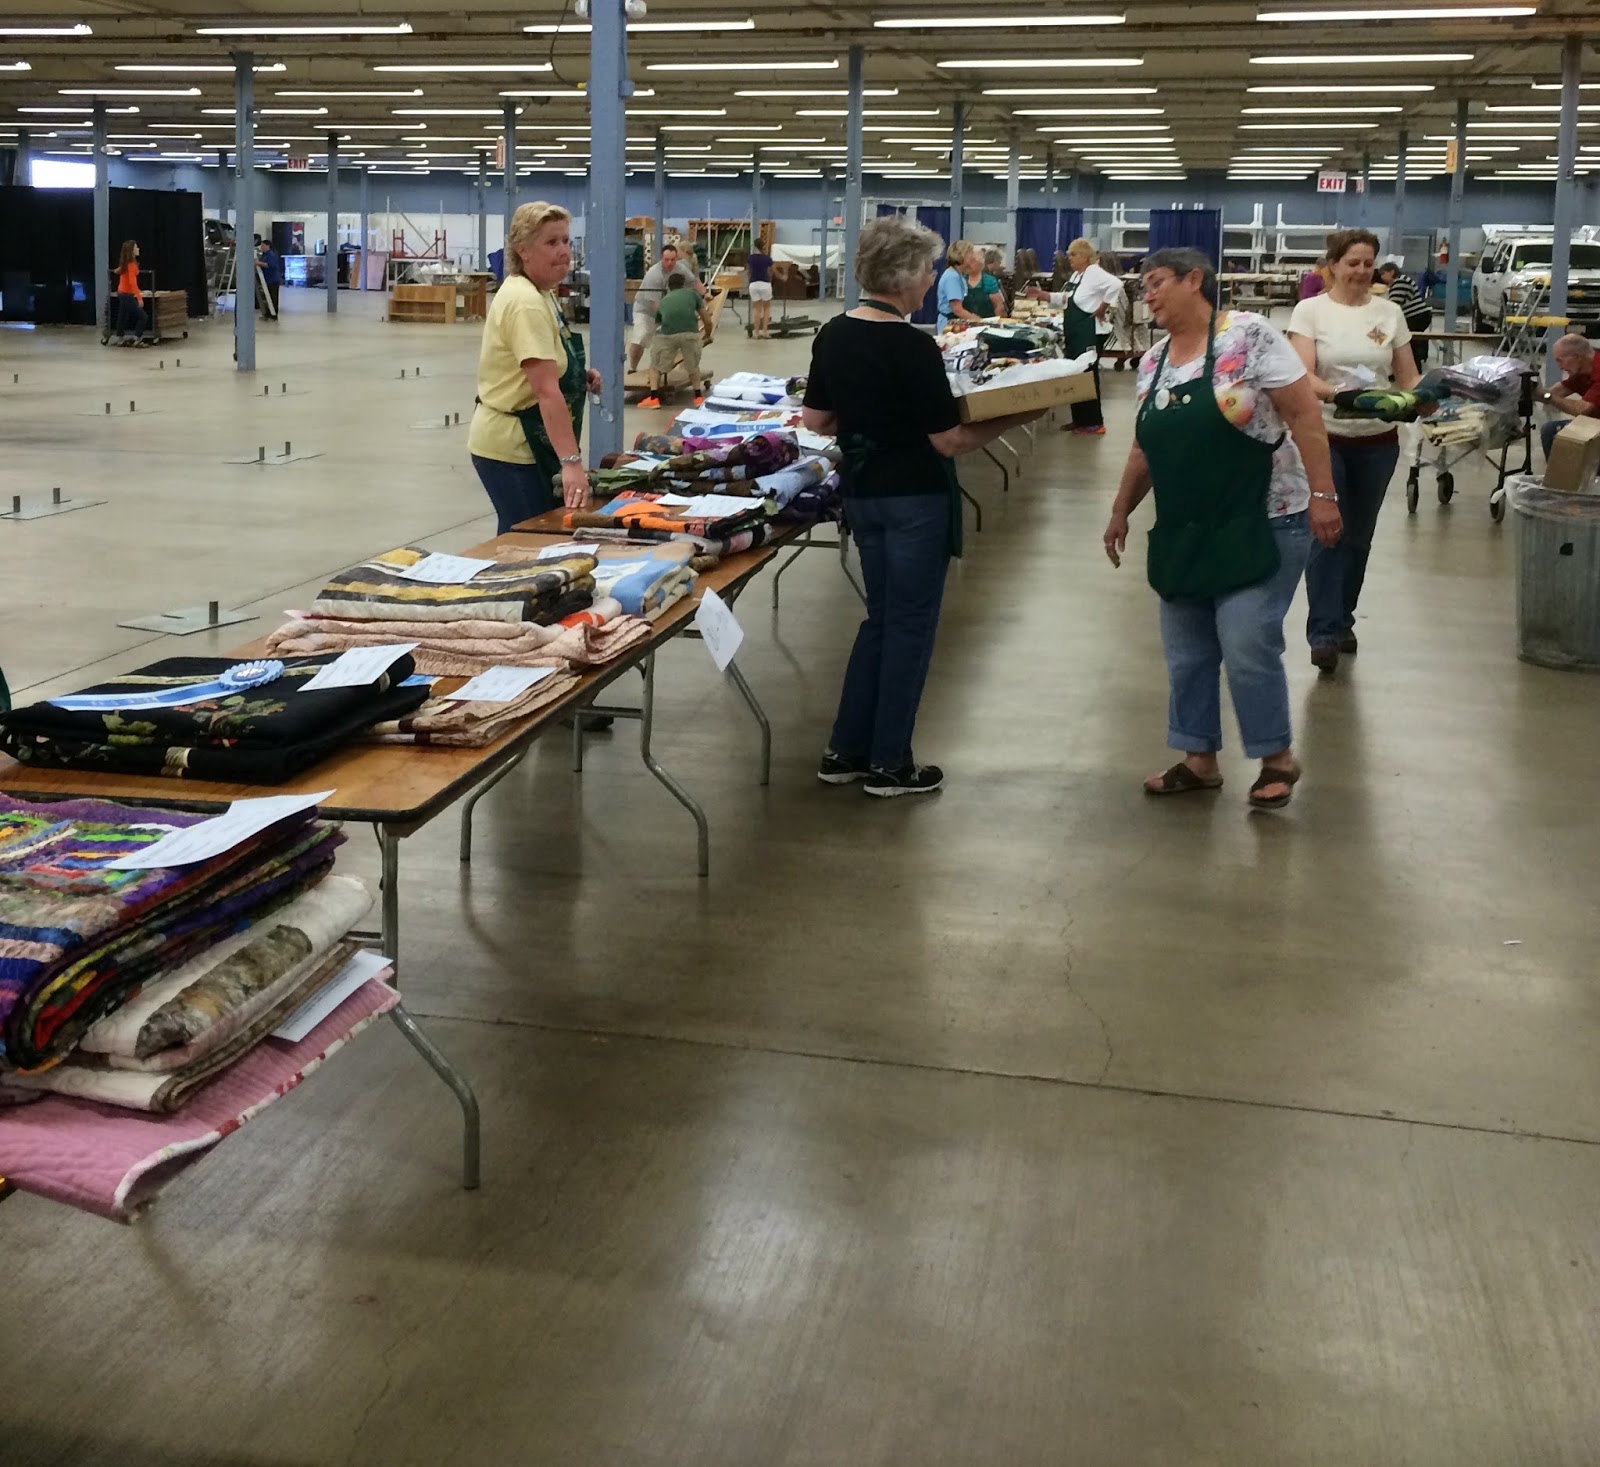
At 4:00 pm on Sunday afternoon we closed the doors and took the show down. If we are amazed at how quickly we hang our show, we are even more amazed at how quickly the show is broken down.  The quilts are removed from the poles, neatly folded and lined up on tables according to exhibitor number.

The quilts are then claimed by their owners with their receipt.

And we are back to the empty hall.  The poles are disassembled, the floor is swept and we close the doors until next year.  But planning for our 2015 QUILT SHOW begins right away.  We will be choosing our show theme and naming our next raffle quilt within the next few weeks.  

Whew!!!!!  Note to self - Get those squishy gel shoe inserts before the show next year.  

31 March, 2014

Birdsong Quilt, Finished at Last!

I love our big ol' barn, but I especially love it when it comes time to photograph a quilt. Mr. T. and I hung the quilt this afternoon, just after I finished the binding..., piped binding, of course!  This just might be my favorite quilt ever!  Oh, wait... I think that's what I say each time I finish a new one.  Pretty sure...

I have generally chosen a plain background on previous quilts so I love the sweet little sampler print that I used for this quilt.  It adds another great element to the design.  

Do you want to know how to do this method of piped binding on your quilts?  Well... I am happy to share. This beautiful binding is done entirely on the sewing machine.  There is no handwork involved, not a single stitch! I must say that this is not my method nor did I write the instructions.  This was taught to my Quilters' Guild by our member, Doris K., the very SAME Doris K. who showed me how to do needle turn appliqué, which inspired me to make this quilt. These are her directions, compiled from various sources, I believe.

You can find the piped binding directions that I used here.  The instructions suggest that you use a pintuck foot to make the piping. I have made piping without using a pintuck foot, just used my zipper foot, but I can honestly say that the pin tuck foot made things MUCH easier.  I suppose that you could use purchased piping... but your own fabric covered piping is much nicer.  I used a 4 ply, worsted weight cotton yarn made by Peaches and Creme for the center of the piping.  I believe that I purchased mine at Michaels

It is also very helpful to use blind stitch foot.  On my Bernina, that is foot #5.  It has a guide that runs perfectly along the channel between the piping and the binding and places the stitches just where they need to be.  

I hear that quilt judges love to see piped binding on quilts.  We'll see if the quilt show judges at our show love it on my quilt.  It will be judged on Thursday, April 10th.

Wish me luck! But really, as I mentioned some time ago in this post, "I don't need no stinking ribbons!"

20 March, 2014

Busy, busy!


I am happy to say that I am back in the saddle again, the SEWING SADDLE, and have recently posted a number of finished Thread Catchers at my Etsy shop, Curry Bungalow .  I have a few new fabrics that I am crazy about and they have inspired me.  


The new line from Bonnie and Camille, "April Showers", is so cute that I can hardly stand it! I love those little umbrellas.  And that red polka dot coordinates perfectly.  I love these fabrics so much that I made a new thread catcher for myself, like I need another one...


Another personal favorite is this sweet little scissors print.  The coordinating lining is a mannequin print and I put these together with some of my Avalon fabrics.  LOVE IT!

I guess I should confess,...  I am just a little bit addicted to making these things.  Can you be a little bit addicted?  Is that like being a little bit pregnant?  In any case,  I love making these things, and I especially love that others are as excited about them as I am.  

05 March, 2014

Birdsong Quilt - Preview Before Binding

The quilting for my "Birdsong" quilt was just completed by my friend, Corrine.  I got my first peek at it at our Guild meeting this week.  I am so very pleased with the way that it turned out! Corrine did a marvelous job and I am so happy with it.  I did not want the quilt to be TOO heavily quilted. That makes a quilt much too stiff, to my way of thinking, feeling more like a potholder than a comfortable quilt.  And who wants a quilt like that?

Lighting conditions were not optimum as I took a few photos today, and these do not quite give the quilt the justice it deserves.  Corrine changed thread colors repeatedly throughout the quilt, so the red birds have red quilting and the blue birds have blue.  She also used various greens and browns for the leaves.  I know that it is SO much work to cut and change thread that often, but Corrine did just that and it makes all the difference.  I cannot image what the quilting would look like if it were all one color. 

I love the feather detail on the wings and tails.

And speaking of feathers, check out the positively delicious detail of the feather quilting in the 12 inch outer border.

Corrine created a paper template to lay out the feather quilting design.

This is the variety of thread colors that Corrine used in the quilting process. WOW!

Next step will be the red piped binding .  I will be using the same method used to bind my Hanging Basket Quilt. The binding usually goes remarkably fast, once I get to it.  I hope to have a photo of the finished quilt posted soon!  It should be finished in plenty of time for our big Quilt Show in April.  Stay tuned...

26 February, 2014

Teeny Tiny Triangles


I was going to try to hold out until I had 12 blocks completed to post about my Feather Star quilt, but I just could not wait.  I have these 11 blocks pinned to the wall in my sewing room and I find myself stopping in the doorway to just stand a gaze at them as I go about my day.  I do not always love a project as I am working at it. It usually sort of needs to grow on me, but this one is different.  I really do LOVE the way that these are turning out!  Those "feather" triangles are TINY, with the short sides of the triangles measuring about 5/8th inch, but paper piecing makes it all work out in a perfectly precise way.  The blocks are not in their final order and placement will be decided later, using the tried and true squint method. Each block so far is a bit different.  I have added some of the French General fabrics from my stash for variety and they go together beautifully.


I remembered the lesson learned while making my Birdsong quilt .  I have been prepping blocks and placing them into bags so that I do not have to feel as if I am continually cutting them out.  These five blocks will keep me busy for the next few days.


Thank goodness for my thread catcher!  This is my third full bag of the trimmings.

07 February, 2014

One Brother Found... One Brother Lost

Me, workin' the camera in a big way, with Glenn and John- about 1953
Sometimes when I blog, I think that I may be putting too much out there, that I might be divulging TMI, too much information.  But I am compelled here and now to write about my baby brother, Glenn.

This is a long story that I will try to make short. I blogged not so long ago about finally locating my older brother, John.  He had kind of vanished, for his own reasons, probably very valid reasons..., and I am so happy to have found him and to be getting to know him again after over 35 years.  He's a seriously cool guy!

We have/had a younger brother, Glenn.  He suffered brain damage as a toddler and had been in a board and care home for most of his adult life.  He had been pacified with cigarettes and after all of those years of smoking he was dealing with COPD.  To make a  very long story short he died on Sunday, Februay 2, 2014 at the age of 62.  He was dealing with some very serious medical issues, and his body was not able to recover from a bout with pneumonia.

I am struck by the irony that I have very recently "found" my older brother, just to lose my younger brother. I am feeling the loss in a big way. We are a small family, without a lot of extended members, and each loss is compounded by the fact that there are so very few of us.

Love you, Glenn.  Rest in peace, and tell Mom and Dad that I love them, too.  I will see you all on the other side.

Feathered Star Test Block


I finished my Feathered Star test block today. I was up really early this morning so I copied the templates onto freezer paper and got everything ready to go.  I can't tell you how much I love getting up early to work on a new quilt.  The coffee is hot and my 16 year old cat, Bozz, is very chatty.  It's my favorite part of the day.

It took FOREVER to make this first block but the first one always takes longer than I think it should. The block is 12.5 inches, unfinished, and that means that those feathers are ridiculously TEENY! I will likely need about 25 of these blocks, maybe 20, but I never know this early in the game.  The quilt will tell me just what it wants to be as we move along.

I used leftover French General fabrics so that I could get the feel for the newer French General fabrics that I will be using for this quilt.  This block may or may not make the final cut for the quilt.  We'll see...

I had a hard time finding my background fabric and finally settled on a Kona Cotton muslin type.  It is not white-white, but more of a creamy neutral.  The photo above shows it just a smidge darker than it really is, but I am liking it so far.

The paper templates from the book that I am using are beautifully drafted and the block went together perfectly.  My points on the feathers look really good and the block lays flat!  That's all that any piecer ever wants. Oh, and did I mention that each block contains 169 pieces?  I counted!

So here I go, off into Feathered Star-land!  It is my sincere hope to have these blocks done within about two months.  If I can piece faster, I can have completed quilts faster!

Update... the next day.

I was up early again, just couldn't wait to sew.  I finished block number 2. This one went much faster than the first block, thank goodness.


30 January, 2014

Pins on Pinterest


Check this out! At this very moment in time, if you search "Thread Catcher Pattern" on Pinterest, this is what comes up.  My photos, pinned by others, occupy five of the six photos in the top row!  I don't know how long this view will last, not so long I suspect, but this is what it looks like here and now, at this very moment in the Space Time Continuum.

What does this mean?  Heck,... I don't know, probably not so much...  but I sure do like seeing that so many PINNERS are liking my patterns and designs!