06 December, 2011

"Chubby Chicks Quilt"! Finished at Last!


Finished at last! I woke up at 4:30 yesterday morning and knew that this was nature's way of telling me that it was time to get this quilt bound. I love working at my machine early in the morning. It is dark outside, the coffee is hot, the house is quiet and Bozz, the cat, is especially chatty. And then... I watch the sun come up.  It's my most favorite time of the day, I think. I had the binding finished before Mr. T. even got up.


I machine quilted these cute little curly tail feathers, not my original design, but one that I found online that another quilter had used for her Chubby Chicks quilt.  Sweet!


I am very happy with the way that my piped binding turned out.  I have only used this technique on smaller items, never on an actual quilt.  All four corners matched up perfectly!


02 December, 2011

Moving Right Along - "Chubby Chicks" Quilt

Under the needle.


I am so excited to be nearly done with my "Chubby Chicks" quilt.  I should probably say that I am so excited to be finishing ANY quilt.  The machine quilting is done and actually went better than I expected.  I am rather new to free motion quilting so this is kind of a big deal for me.  I will be using the piped binding technique that was taught to us by Guild member, Doris K . Stand by for the finished product.

26 November, 2011

Bee Skep Salt and Pepper Shakers


Mr. T. and I are hard-core estate sale junkies and we love to find fun old things that fit just right into our old home. If those finds are a bargain, that's even better yet. These bee skep salt and pepper shakers are one of my very favorite Fabulous Vintage Finds. We picked them at an estate sale for six, count 'em, SIX whole dollars!  They are my kitchen salt and pepper shakers, good sized at around five inches tall, and they sit beautifully poised near the range for use while I am cooking. They're marked "Japan" on the bottom, and I have not been able to date them, but they appear to be old.  Online research makes me guess that they are about 40-50 years old.

Mr. T. and I were recently visiting John Day, in eastern Oregon, and happened to find the sugar and creamer mates to our salt and pepper shakers.  They were waiting for us in a stifling hot little antique shop on the main street that runs through John Day.  How could we resist them?  They were not the killer bargain that the salt and pepper shakers were, drat..., but sometimes you just have to pay real money for really great old things.  I suspect that there is a matching honey pot out there somewhere, just waiting for us to find it. Or... maybe a matching teapot! That would be the Bees Knees!, wouldn't it?


Update! Holy smoke, while perusing Pinterest, (my new most favorite thing,) I found my oh-so-elusive matching teapot! But, darn, it was already sold at an online auction site.  But the good news is that my hoped for teapot actually exists, and it's out there, waiting for me to find it.  I'll find one, out there somewhere, someday, I'm certain. Wish me luck!


25 November, 2011

Fall in the Burg


We have had the most beautiful fall here in the Burg, with mild temperatures, more sunny days than we usually see at this time of year and not too much rain. One of our Japanese maple trees is losing it's leaves in a big way just now.  They will all be on the ground in a day or two, so I just had to take a photo before they are all gone.


   The leaves even look pretty once they've fallen to the deck.  I'll be sorry to see them gone...

24 November, 2011

Jalapeno Thingies

It's Thanksgiving and during a lull in the meal preparation madness, we made Jalapeno Thingies, tasty
hors d'eouvres that have become a holiday staple for our family.  There is a bit of work involved, but they are so very worth it. I would never dream of eating a raw pepper, but somehow, cooking them takes away lots of their punch.  They're beyond delicious!


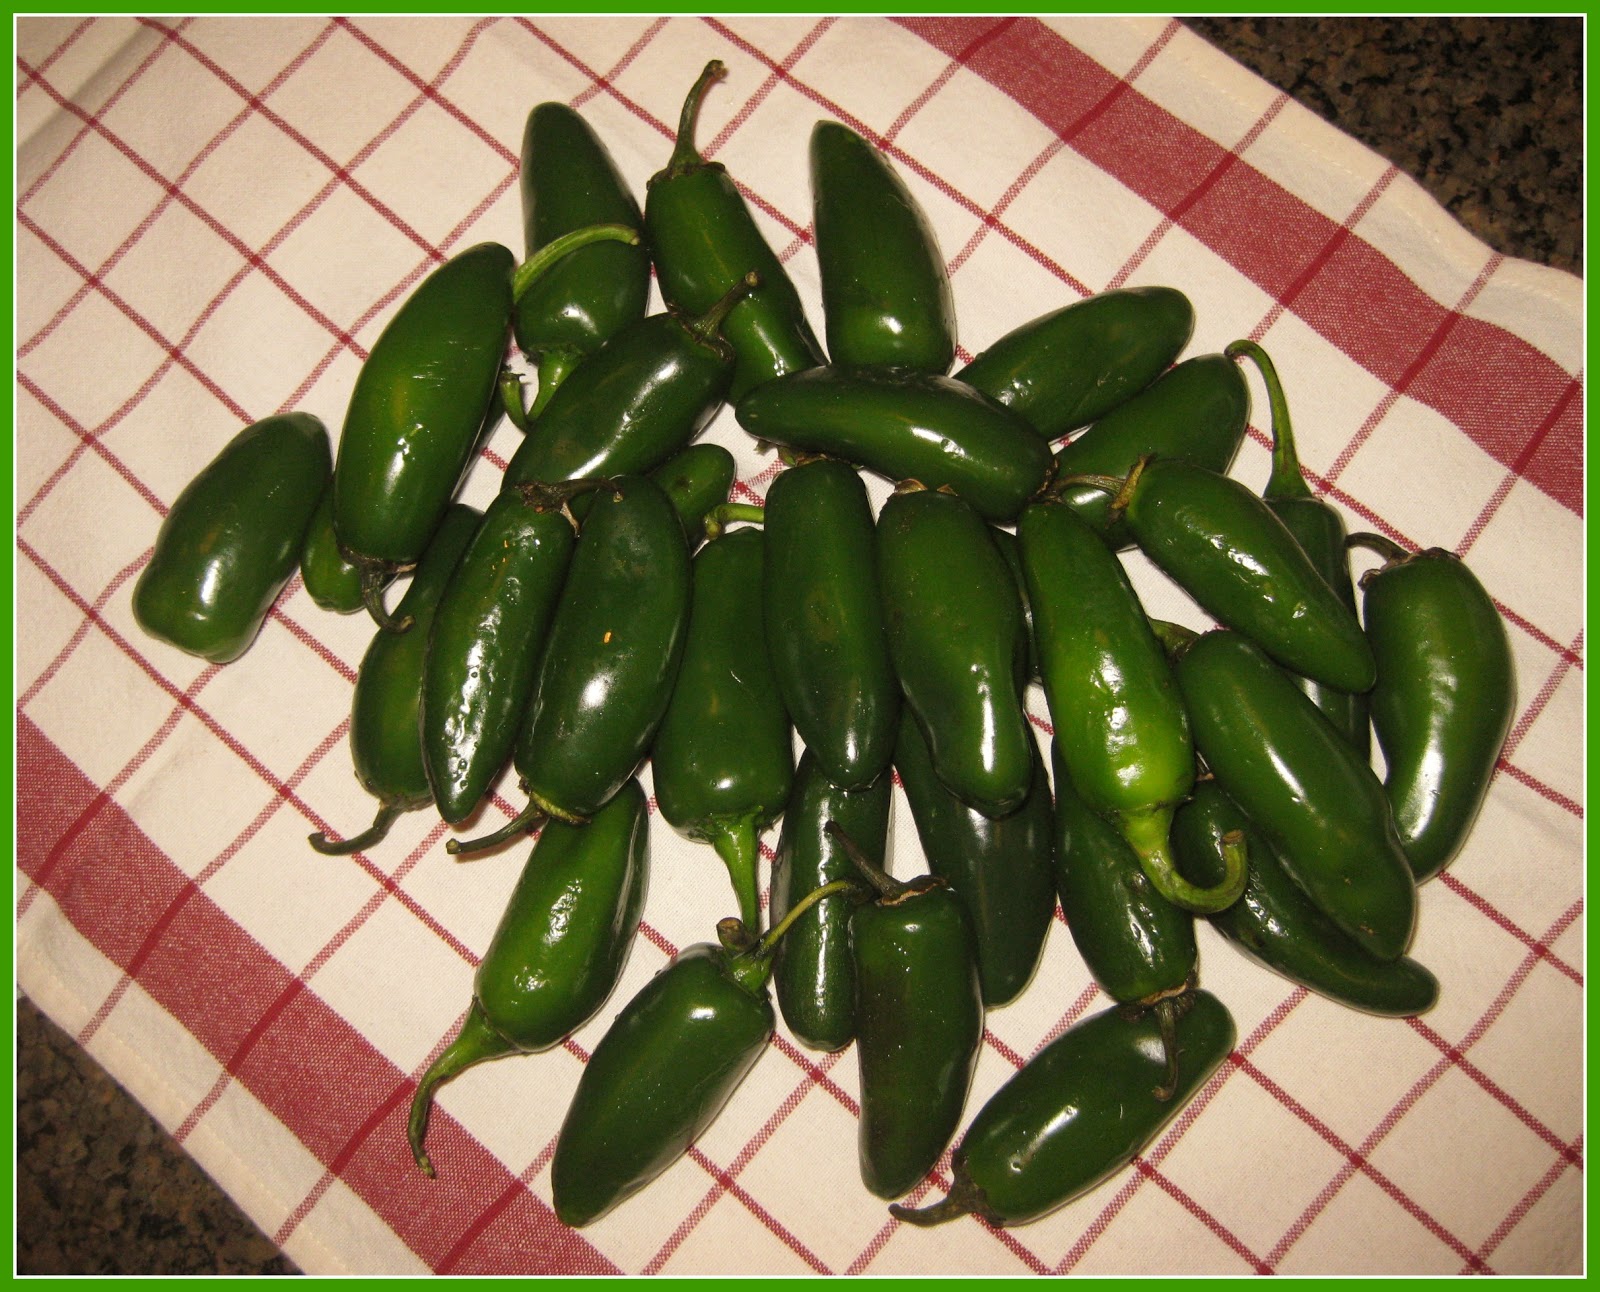
Start with about 25-30 small jalapeno peppers.  Wash and, dry them, then cut off the stems, but don't cut off the entire stem end.  Think of the peppers as being little boats that will hold the filling.  Oh, and don't forget to wear rubber gloves. I learned the hard way that the your hands can burn for hours after prepping these things. Slice the peppers in half lengthwise, then make a small slit at the stem end, as pictured below.  This will help you to pull the seeds and membrane out of the pepper.


We stuff ours with plain old cream cheese, but you can add a mixture of  feta, parmesan, herbs or whatever you like to the cream cheese.  After stuffing them, we add a piece of par-cooked bacon (par cooking really cuts down on the grease), or prosciutto.  We used to wrap a strip of the bacon, (cut in half the long way, then cut the strip into three portions) around the pepper but felt as if this was too much. I'll be honest here.  Wrapping the peppers with a slice of bacon is prettier, and I'm all about how things look... makes things more appetizing, don't you think? But for just us, the strip is fine.  If I were serving these to non-family or taking them to a party, I would do strips. We have used pieces of both here, half are topped with bacon, half with prociutto.  I like to put them on a wire rack and that goes on a cookie sheet.


Bake in the oven at 375 degrees for 20 minutes or until the meat is cooked and the cream cheese begins to brown.  That's it!  They're done!  They're so delish!  E-mail me and tell me how much you love them.  beesknees52@gmail.com  .


31 October, 2011

"Chubby Chicks Quilt"


Shame, shame on me!  I've started another quilt before finishing the Hanging Basket quilt pictured in an earlier post.  But I could not resist this one.  It's called "Chubby Chicks" and the pattern is from Black Mountain Quilts.  A word to the wise here... If you are going to search for this pattern online, Google "Chubby Chicks QUILT".  If you leave out the word "quilt" you will see more in the way of really big girls in various states of dress and undress than you ever wanted to see.  Seriously!


Although I liked the colors on the pattern photograph, GREEN is my most favorite color...I wanted to vary the colors from the ones pictured on the cover of the Black Mountain pattern posted below. I chose Moda’s “Sophie”, by Chez Moi. I bought a charm pack and two yards of the red fabric for the patchwork pinwheels and the border fabric, all from the same line. These are such fun fabrics in great colors! Elizabeth and I (remember, she’s my Bernina 440QE) did a blanket stitch around the outer edge of the chicks. The feet were done with a very narrow zig-zag stitch and the eyes are hand embroidered. The top is nearly completed, just need to add the final border, and then I’ll be finishing it up. Backing and binding fabrics are on order and should be here in a few days.


"Chubby Chicks"
by Black Mountain Quilts
http://www.blackmountainquilts.com/


The backing and batting have arrived and I've been busy pinning the quilt at the breakfast table


The backing is another fabric from the Moda "Sophie" collection and it almost looks like little chicken tracks. 


24 October, 2011

Making New Things


Our Quilters' Guild member, Linda G., led us in a work group to make the coolest bag for our tools. This is her very practical Peekaboo Bag. I am completely and totally captivated! This bag is large enough to hold all of the items that we need to carry to workshops and classes. Mine holds scissors, a rotary cutter, thread, feet for my machine, my Mr. McGoo sewing glasses, needles and anything else that I need to take to class. The clear vinyl window lets me see all that is in the bag. Thanks, Linda! You are the best! These are going to be great sellers at our Quilt Show!

And More New Things...


I've been having tons of fun working on projects for the Guild. I think that I have mentioned that I am a member of the local Quilters' Guild. We are 110+ members strong and we have SO much fun! We put on one of the largest Quilt Shows in Oregon, second only to the renowned Sisters Quilt Show.

 We have a booth at our show, (which always occurs on the third weekend in April,) where we sell sewing and quilting related things that we members make. This item is the very practical Thread Catcher. It is the perfect receptacle, prettily perched next to our sewing machines, ready to receive threads, clippings and cuttings. We have done other designs, but we feel as if we need to change it up from time to time. We can't expect our customers to buy the same things over and over, now, can we?.

 So this is one of the designs that I have put together for this year. Instead of the usual 4 inch tile, we are using a ceramic tile as the weighted base for the pincushion, which is made lattice style (think pie crust...) with woven strips put together to form the top of the pincushion. The pincushion also includes an emery pad, the center of the flower, for sharpening needles. The pincushion attaches to the tile with Velcro so it can be detached for portability if desired. I have two more pincushion designs to complete, both attach to the same tile/bag design, but are not quite as cute... Some ladies don't do "cute". Go figure...


I recently posted these photos on one of my Pinterest boards and have had TONS, seriously, TONS, really, I'm not kidding, TONS! of hits for this item here on my blog.  I am thinking that I need to produce this pattern for sale! 

28 September, 2011

My Sewing Closet

My friends say that my sewing closet looks much too
tidy, but I work hard to keep it picked up and organized.
otherwise, I can't find anything. 


Long ago and far away, a Princess, (that would be me...,) had a beautiful sewing room. It was large and open and bright with lots and lots of storage. But alas, the perfect sewing room was not to be found when the Princess and her handsome Prince moved to a new castle in a new land. Sadly, the Princess was banished to sew in the closet. But she made her sewing closet the most KICK ASS sewing closet in all of the Kingdom! Her sweetie, the Prince, (hereafter, and for my blogging purposes to be known as Mr. T., no gold chains or excessive bling, I promise!) bought her a beautiful spinning wheel  sewing machine. (Sorry, got my fairy tales mixed up for a moment...) Anyway..., the beautiful sewing machine was christened, "Elizabeth" and she and the Princess sewed happily ever after. In the closet.

The End.


Since my sewing table surface is so small, I have found a clever way to keep my scissors and other pointy tools close at hand.  I've been using a vintage flower frog, one of many that I have picked up at yard and estate sales over the years. These handy things work great for flower arranging, but this one is doing it's solemn duty as my scissors holder.

23 September, 2011

Hanging Basket Quilt


Block Detail
This is the quilt, well..., one of them, that I am working on presently.  It is a paper pieced hanging basket pattern made of yummy Moda fabrics.  I still need to add the outer sashing and the outer border, but so far, I'm liking it. I still have not decided on the backing or just how to perfectly quilt it, but sometimes the quilt will tell me what it wants and needs.

Note to quilt... I'm listening...

Black-Eyed Susans


My Black-Eyed Susans have done beautifully this year.  They are still looking fabulous here on the first day of Fall, just doing what comes naturally.

22 September, 2011

Iron Tote.


For my very first blog post, (I am a blogging virgin....) I am sharing an item that I made this week. I belong to the local Quilters' Guild and each month we have a work day, where we bring our sewing machines and either work on our own projects or make a project to sell at our quilt show in April. There is nothing like a room full of friends, sewing machines buzzing, with all of us chatting up a storm. This week, our very own, very talented, Linda G., led us in creating this tote for our travel iron. This little beauty will be perfect for carrying our iron to classes and workshops. It is lined with that silvery Teflon ironing board fabric, and when open, it doubles as a pressing surface. I will be donating this one to the Guild, for sale at our Quilt Show,  but can't wait to make one for myself.


Fast forward... I have finished making my own tote.  It's red, of course.  And you can see how it unfolds and opens up for pressing.  It's perfect!


The tote opened up for pressing purposes.